If you can sew a straight line, you can make a scrunchie. They make really cute gifts for little girls too! I am addicted to making these because it lets you whip out those fabric remnants you’ve kept in the cupboard for so long.
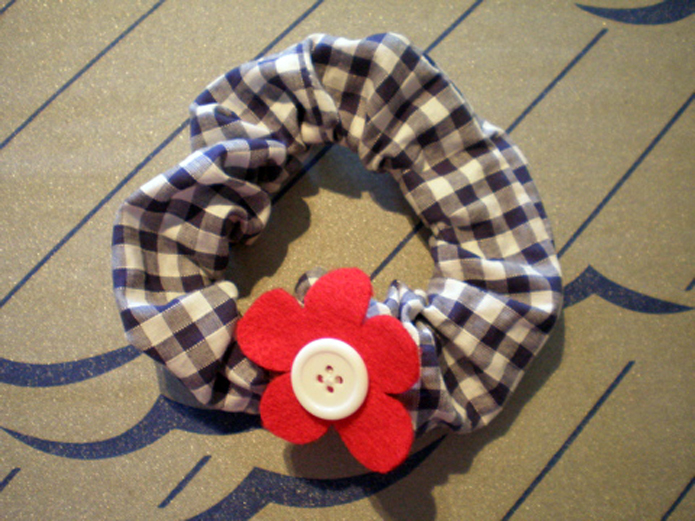
This is a gingham check version with a red daisy. Check out my leopard print version here, and you can download the free hair scrunchie tutorial here .
1. Stitch with right sides facing, 1cm hem.
 This fabric is 45cm x 10cm long. It makes a good kids size scrunchie, or a small/medium scrunchie for adults.
2. Rotate and press.
 Optional Step

You can stitch a decorative item on the right side of your scrunchie here. You could also stitch it on at the end, especially if it is a large motif.
 3. Fold & Pin

 Ensure right sides are facing. Fold in the top layer. Pin the bottom layer edges together, ensuring the top layer is safely bundled inside.
 4. Stitch & pull out the inside of the scrunchie.

 Stitch 0.5cm along the edge, making sure that you are only stitching two pieces of fabric together. As you move along the scrunchie, pull out the inside.
 5. Turn right side out and insert elastic.

 You should end up with the above. Turn right side out.
 Insert elastic and tie a knot. Hand stitch the opening closed.

3 comments
[…] Register « Hand knitted ribbed scarf for my boyfriend Easy Step by Step Scrunchie Tutorial with Photos » […]
Thank you!!
[…] Como usar um scrunchie | Amando o visual dos anos 90 com o scrunchie usado em cima do cabelo puxado para trás. Aprenda a fazer um scrunchie aqui (é tão fácil): http://www.sewinlove.com … […]